Theme Installation
Once you’ve downloaded the installation file on ThemeForest, extract it and locate a file called graphis.zip. You can install the theme by using one of two installation methods:
1. WordPress upload:
- Login to WordPress Dashboard and browse to “Appearance > Themes”.
- Click on the “Add New” button and click “Upload Theme”.
- Click on “Choose File” and select
graphis.zipfile. - Click on “Install Now”.
- When your theme is successfully installed, click “Activate” to activate the newly installed theme.
2. FTP upload:
- Using FTP client, login to the server where your WordPress website is hosted.
- Using FTP client, navigate to the
/wp-content/themes/directory under your WordPress website’s root directory. - Using FTP client, upload the
graphisdirectory to themes directory on remote server. - Once uploaded, navigate to “Dashboard > Appearance > Themes” in the WordPress Dashboard and hit “Activate” below your newly uploaded theme.
When you use first or second method, please make sure that you’re uploading the graphis.zip file (for first method) or graphis folder (for second method), not entire package you downloaded. If you upload the wrong file you will get an error stating “Error: missing style.css stylesheet.”
Once installation is complete, your Graphis theme will be ready to use. You should now see Graphis theme as active.
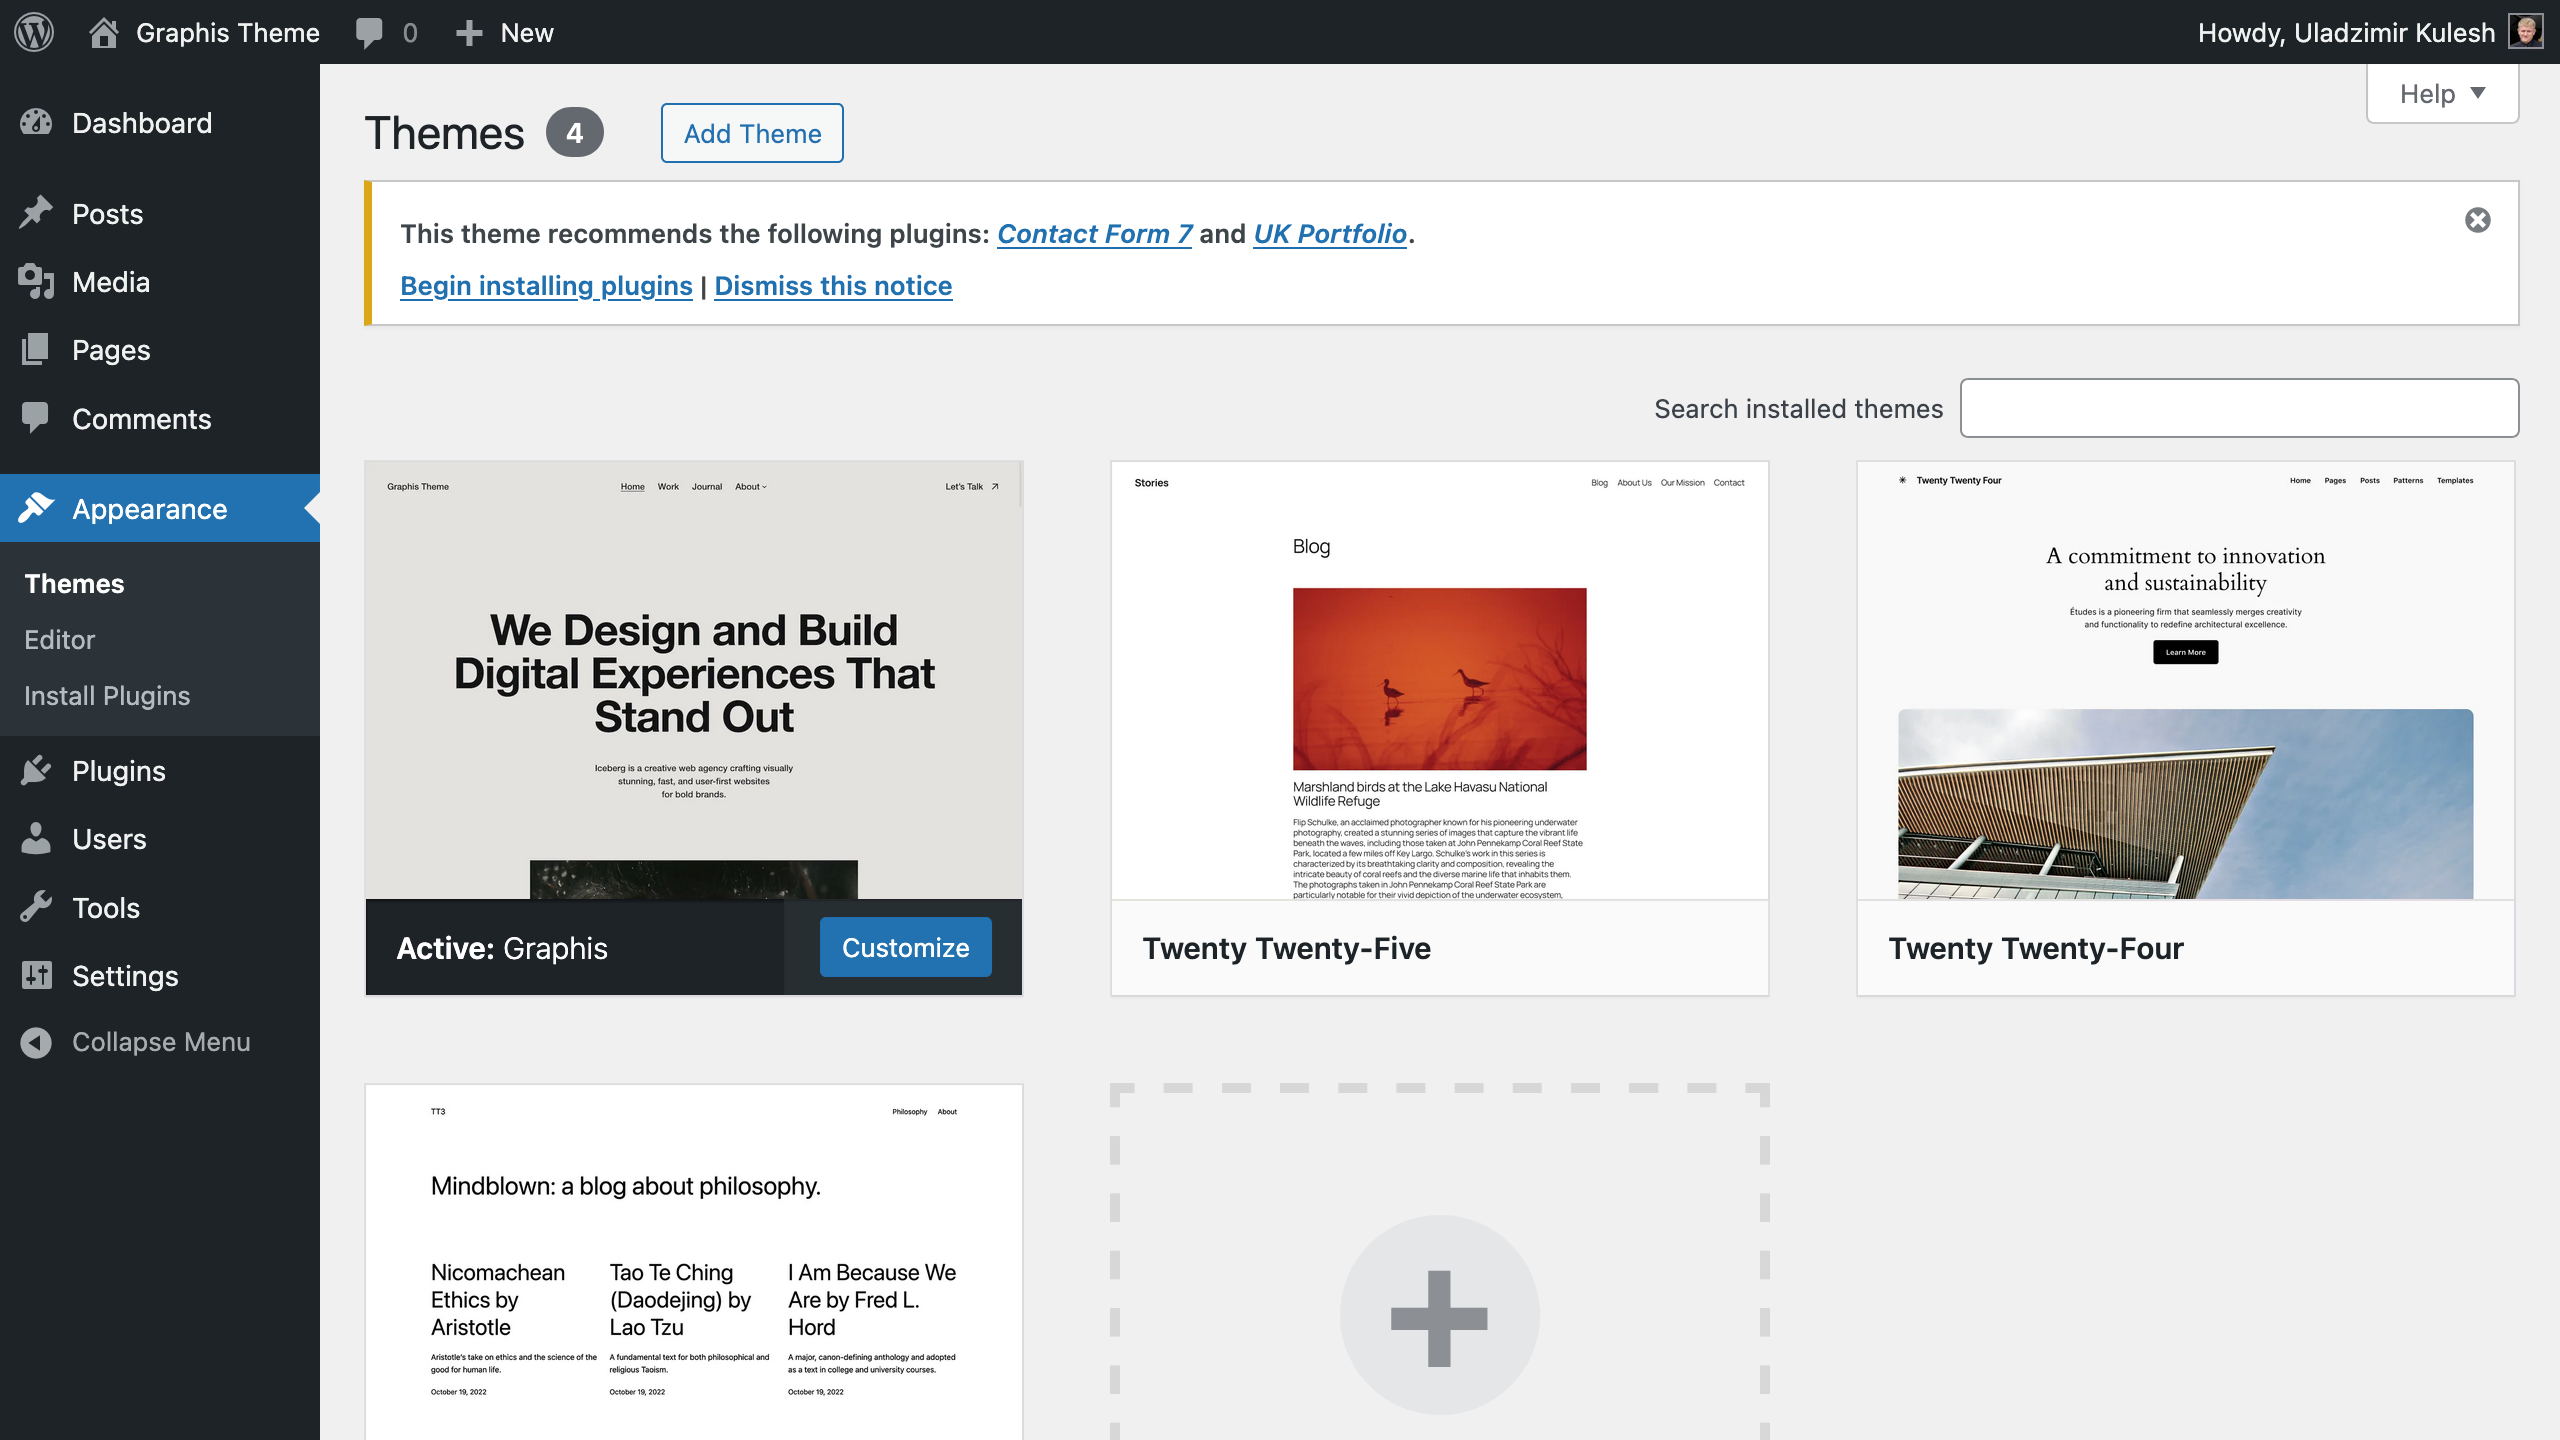
Installing Required Plugins
When you first install a theme, you will see a pop-up window in your dashboard asking you to install a number of plugins.
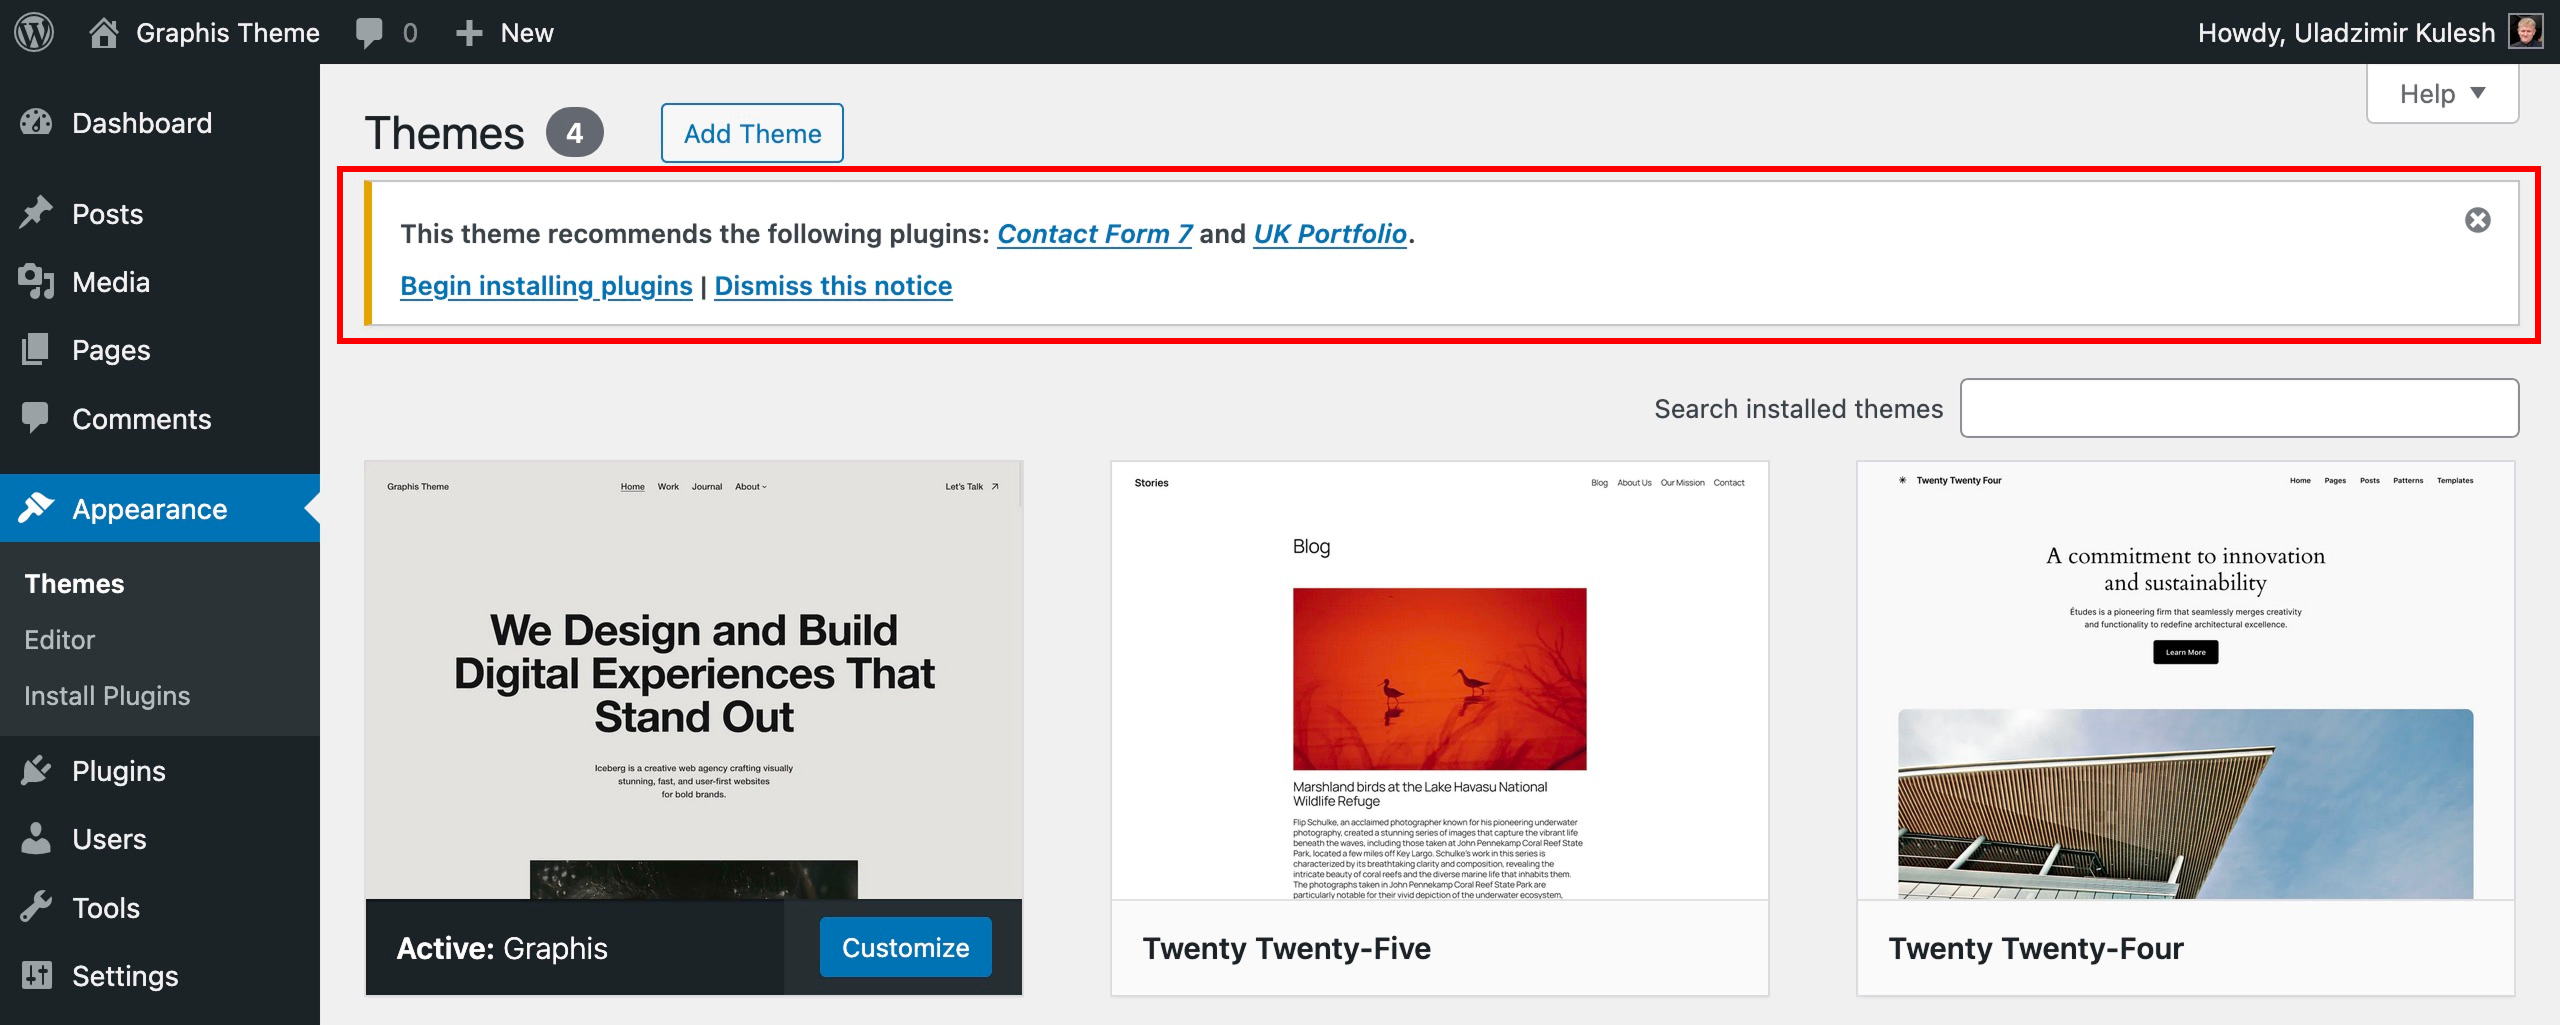
Decide which ones you need and allow the theme to install them for you.